Installation & setup
Get the installation files
Download the OVA file containing the IRAF VM image (
gemini-IRAF-CO7.ova) from Google Drive. This is 6GB in size, so will take a while to transfer.To ensure the integrity of the download, you can open a terminal window (see Starting the VM & logging in), type
shasum Downloads/gemini-IRAF-CO7.ova(substituting whatever path you downloaded it to) and verify that the resulting checksum is1881ae0afa3e9699ccec861b508a630787cf566d; if not, you should try downloading again.Download the DMG file for the free version of Virtual Box from https://www.virtualbox.org/wiki/Downloads, under
OS X hosts. A checksum is also available on that page, which you can verify usingshasum -a 256 filename.dmg.
Install Virtual Box
Once the downloads are complete, go to
Downloadsand select the VirtualBox DMG file to start the installer. Follow the instructions, entering your personal password when prompted to do so. Your administrator may have to perform this step, if you do not have software installation privileges.
Import the VM image
Ensure that you have more than 16GB of available disk space for the VM image in your home directory (if necessary, you may reclaim 6GB afterwards by deleting the OVA file).
Start the “VirtualBox” application.
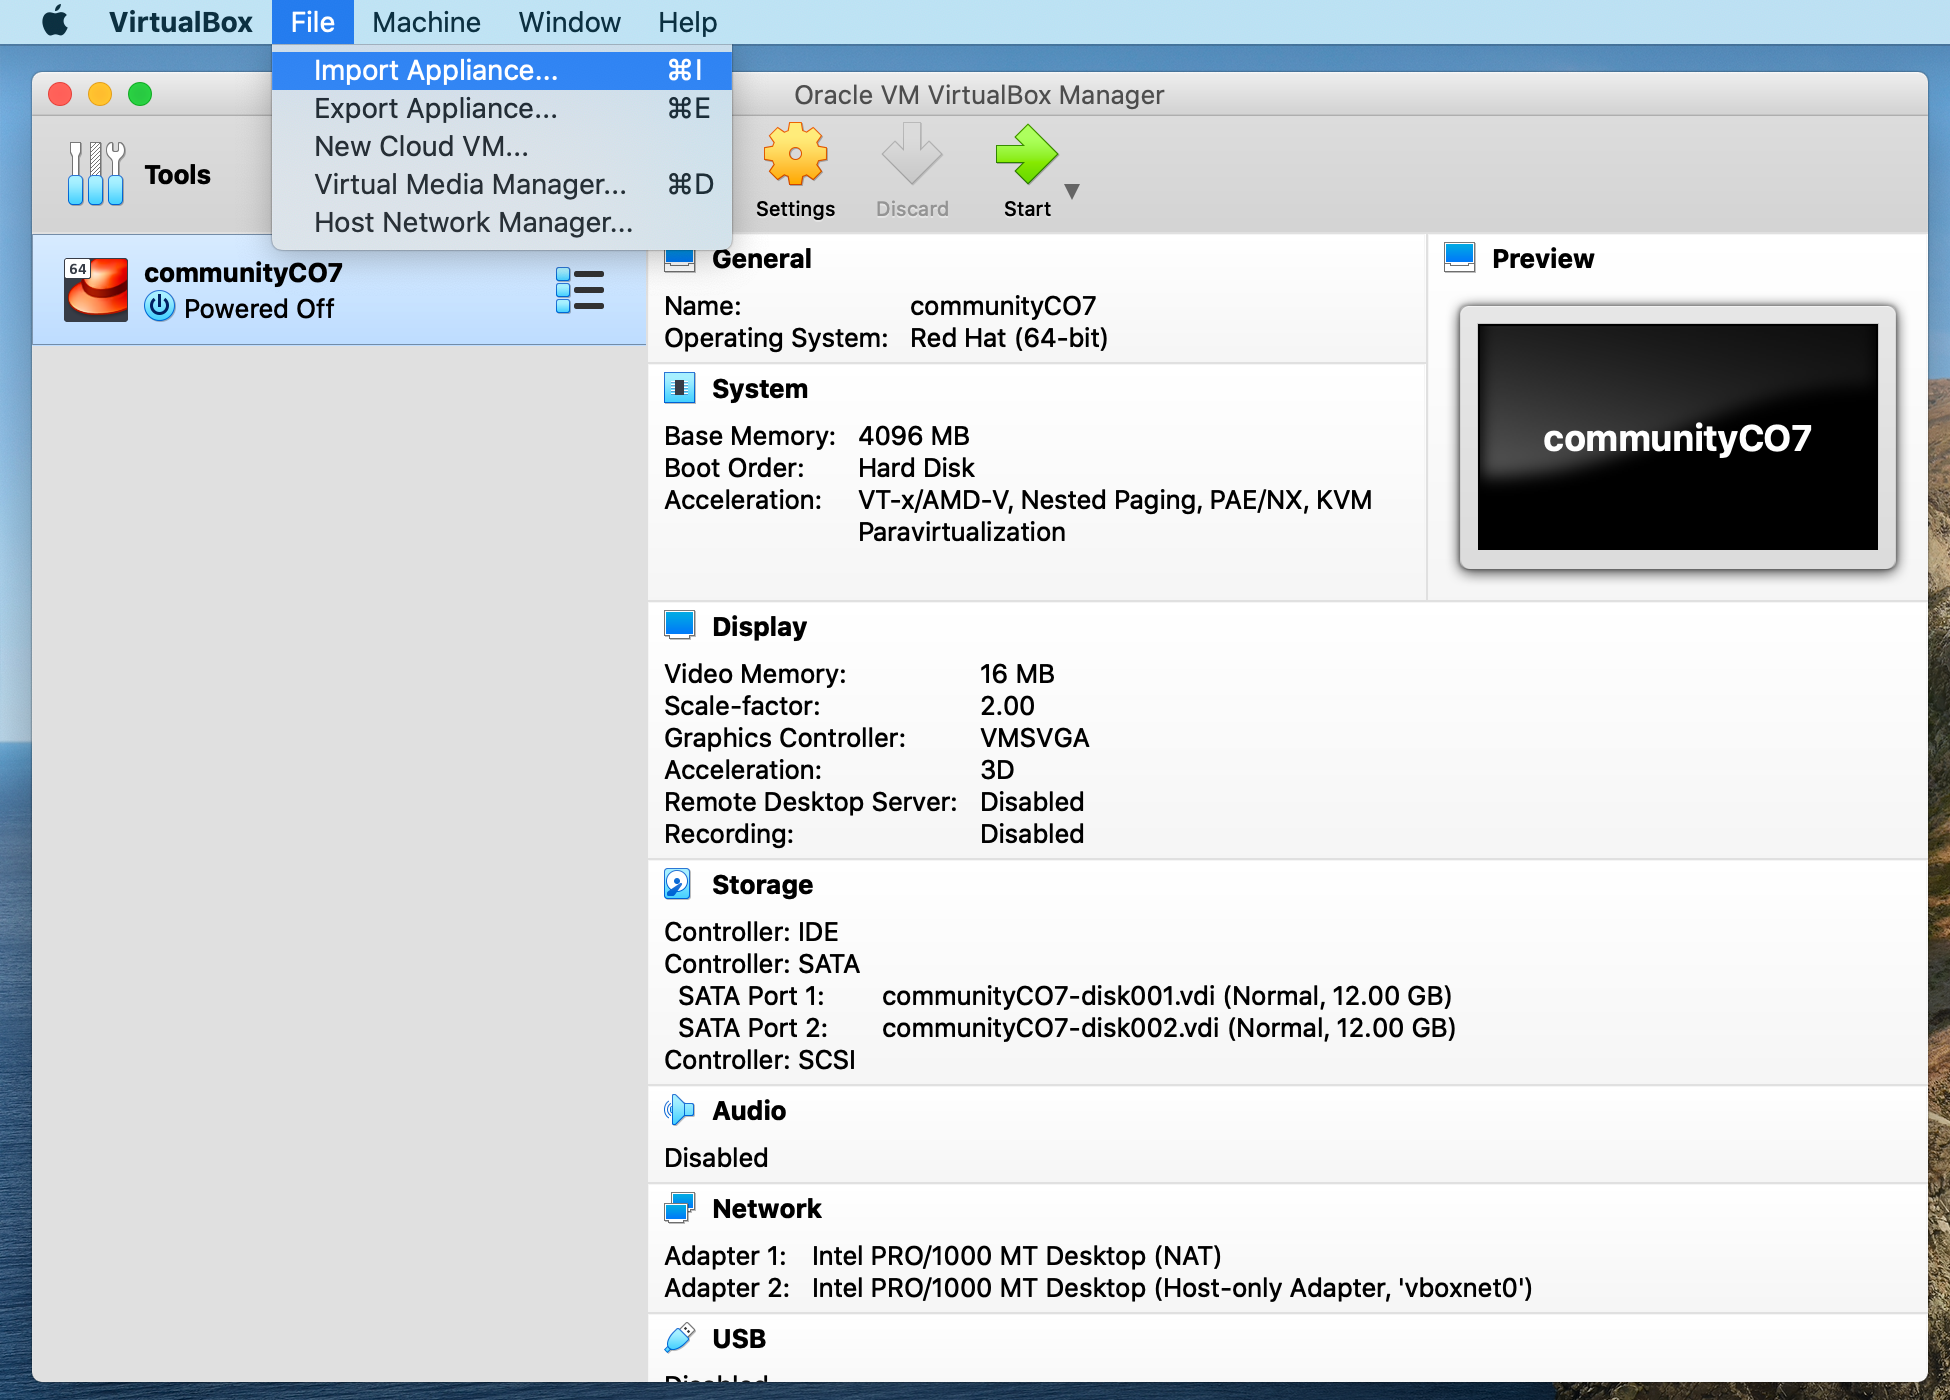
The main VirtualBox Manager window and File menu.
Go to
Filein the menu bar at the top of the screen, thenImport appliance. Press the icon to the right of theFilebox, go toDownloads(or wherever you put the OVA file) and selectgemini-IRAF-CO7.ova. PressContinuein the main window.Alternatively, double clicking on
gemini-IRAF-CO7.ovamay open it in Virtual Box automatically, depending on your settings.Accept the default settings.
Press
Importand wait for the process to complete.
Configure networking
With the
Oracle VM VirtualBox Managerwindow selected, go toFilein the menu bar at the top of the screen and selectHost Network Manager.Press
Createat the top left of theHost Network Managerwindow. This should automatically add an entry with network address192.168.56.1/24in the table beneath. Don’t enableDHCP Server(unless you’re already using it for another purpose). Close the window.
Make sure
gemini-IRAF-CO7is selected on the left-hand side of theOracle VM VirtualBox Managerwindow.Configure a shared data directory.
Under your home directory (or another writeable location) on your host machine, create a subdirectory for exchanging data files between the host and the VM, eg.
vm_transfer/.In the
Oracle VM VirtualBox Managerwindow, pressSettings, thenShared Foldersin the top row of icons, then the+icon to the right of the main table. In the sub-window that pops up, set theFolder Pathto the directory you created on the host machine (eg./Users/<username>/vm_transfer) and theMount Pointto/home/irafuser/vm_transfer(or similar). Select theAuto-mountoption (andMake Permanent, if you have it). PressOKand thenOKagain in the parent window.